How to create my first configurable product ?
After creating your configuration, the next step is to link the configuration with a WooCommerce product. It can be an existing product or one you create anew. Please follow the steps below:
- If it is a new product, go to Products > Add New, else, open the existing WooCommerce product.
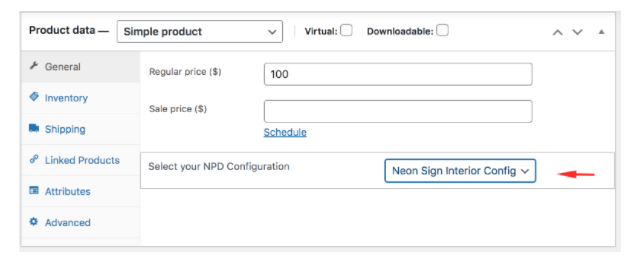
- If it’s a simple product, the configurations list will show up under the General tab
Please make sure that the price is defined and the product in stock
But if it’s a variable one, the drop-down containing the list of your created configurations will be displayed in the Variation settings.
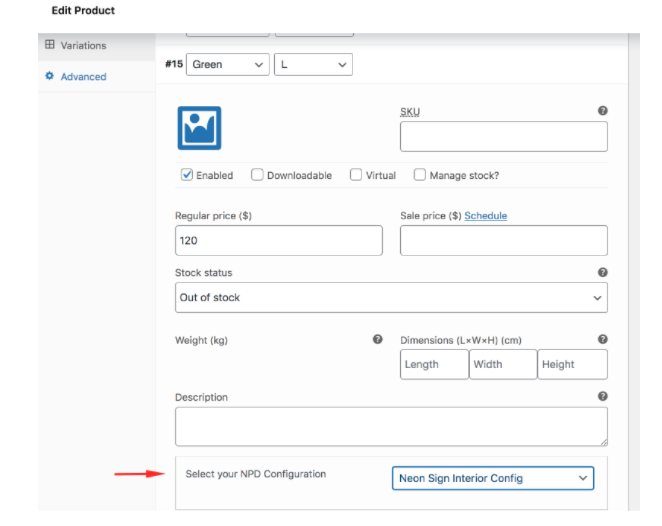
This way you can tie any configuration to any variation.
3. Select the configuration you want to assign to your product from the drop-down, and click on publish (or “update”) when you’re done to save the changes.
Congratulations, you just made your custom neon sign configurable product!
A “Neon Design” button will now appear on the product page and will lead to the configuration page when clicked.